Chicken Dance!
The Chicken Dance — it’s silly, it’s everywhere, and it’s 60 years old! Today, we learn that chickens really DO dance, plus we bake bread like The Little Red Hen, and join Rooster as he goes off to see the world! Below are activities that all have a Chicken Dance theme. These activities include things that will help your child develop fine and gross motor skills, problem-solving and engineering skills, and can help them engage in cooperative play, while fostering creativity and perseverance. Each theme also comes with recommended literature and movie connections. Feel free to throw in your own activities that might relate, and don’t forget to post your results to social media and tag @discoverymuse to share with everyone else!
Physical Activity: Learn the Chicken Dance
Get some of those wiggles out while learning a little about The Chicken Dance! It’s silly, it’s catchy, and it’s everywhere. A fun little jig with simple moves that can be learned in under a minute, “The Chicken Dance” is a staple at school parties, weddings and Oktoberfest. The story of this bird boogie begins with its melody, which was written more than 60 years ago by a Swiss musician named Werner Thomas. Read more about the history of the Chicken Dance here.
Rooster’s Off To See the World: Art/Fine Motor/Math
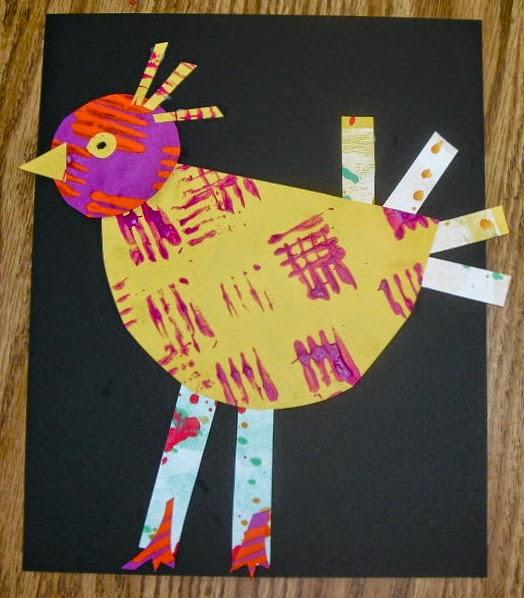
Painted Paper Chickens and Roosters
For this activity, you’ll need to collect the following:
- small balls
- paint
- paper
- paintbrush (optional)
- small tray or box
- old cards, scrap paper, wrapping paper
- scissors
- glue or glue stick
- dark sheet of paper for the base
- feathers (optional)
Directions:
- Start by painting paper with balls (see video below).
- Place your paper on the tray/box.
- Plop a few paint blobs on the paper.
- Add the ball to the box and gently lift the box corners, causing the ball to roll about. Continue carefully moving the box to roll the ball back and forth, up and down, transferring the paint to the paper.
- Pick up the ball and paint the ball itself, globbing the paint on. Place the painted ball back into the tray/box and continue painting.
- Try different size balls, balls with texture or smooth balls, balls that have different weights., multiple balls at the same time.
- Wash or wipe the paint off the balls.
- After letting your paper dry, cut out parts of the chicken or rooster from your different paper designs. You will need:a head, a beak, an eye, a body, tail feathers, two legs, and a comb. You may also want wings.
- Try to choose a head color that contrasts with the body. If you can, glue the chicken body to a dark colored sheet of paper to create additional contrast.
- If you happen to have feathers or other textured papers (scrap cards, wrapping paper, etc.), use those to cut out some of the details (tail feathers, beaks, wings).
- Be creative and have fun making your chicken or rooster.
- Share your pictures with us @discoverymuse.

Write the sequel– The story ends with rooster dreaming about a trip around the world. Where would he go? What would he do? Make up the rest of the story and write it down or draw a picture of what happens next.
Math Extensions: Rooster’s Off to See the World offers a wonderful opportunity to talk about graphing and basic adding and subtraction. This site offers activities and structured prompts for working with toddlers, preschoolers, and children in early elementary using the concepts from the book.
The Little Red Hen and the Science of Bread
Ella’s Bread Recipe
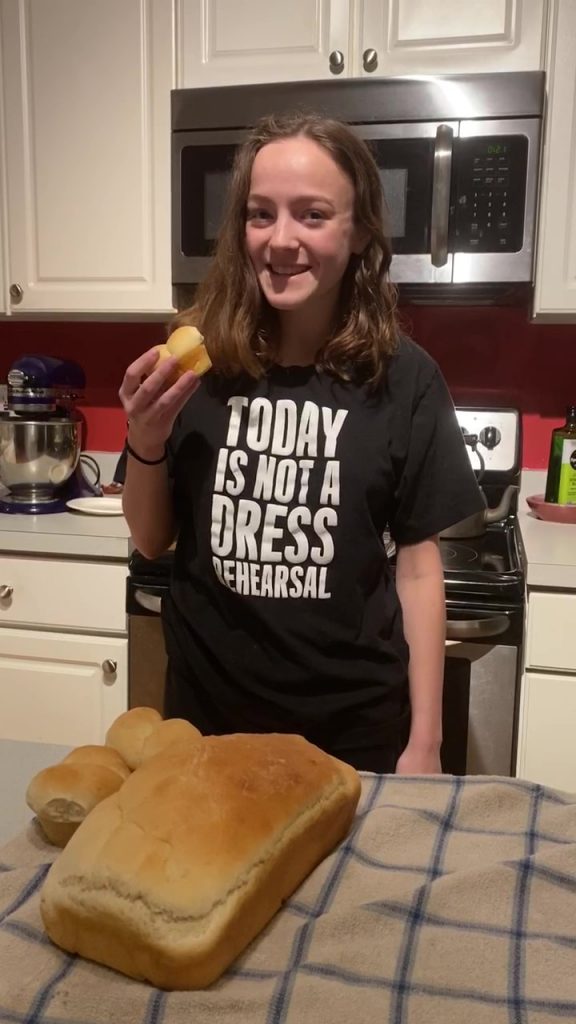
Now that you’ve heard the story of the Little Red Hen, let’s look more closely at how to bake a loaf of bread. Shenandoah Valley Discovery Museum volunteer Ella Schnoor guides us through the process and shares her favorite bread recipe with us.
Ingredients:
- 2 cups warm water 110 degrees F/45 degrees C
- 1/2 cup white sugar
- 1 1/2 tablespoons active dry yeast
- 1 1/2 teaspoons salt
- 1/4 cup vegetable oil
- 5-6 cups flour You can use all-purpose flour OR bread flour!
Instructions:
- In a large bowl, dissolve the 1 TBSP of the sugar in warm water and then stir in yeast. Allow to proof until yeast resembles a creamy foam, about 5 minutes.
- Mix remaining sugar, salt and oil into the yeast. Mix in flour one cup at a time. Dough should be tacky and clean the sides of the bowl save for a small part at the bottom. Too much flour added in yields a dry loaf of bread, so if you’re worried you added too much, add a bit more hot water, until you get the correct consistency.
- Knead dough for 7 minutes. Place in a well oiled bowl, and turn dough to coat. Cover with a damp cloth. Allow to rise until doubled in bulk, about 1 hour.
- Punch dough down. Knead for 1 minute and divide in half. Shape into loaves and place into two greased 9×5 inch loaf pans. Allow to rise for 30 minutes, or until dough has risen 1 inch above pans.
- Bake at 350 degrees F (175 degrees C) for 30-40 minutes. Cool, brush with butter and enjoy!
Let’s Learn More About the Science of Bread
- Baked Bread: How Flour Is Made
- How Flour Is Made at a Traditional Watermill
- How Does Bread Rise?
- Baked Bread: How is Bread Made
More Read Aloud Connections
- Chickens Aren’t The Only Ones by Ruth Heller
- My Life as a Chicken by Ellen A. Kelly, illustrated by Michael Slack
- Interrupting Chicken by David Ezra Stein